If you’ve confirmed mites in your flock, the spray you choose and how you use it makes all the difference. Here’s what works, what doesn’t, and why most treatments fail the first time.
If you’ve ever done a mite check on your flock and found something moving around near the vent feathers, you know the feeling. It’s not panic exactly — but it’s close. And the first question most people ask is: what do I spray on them?
The answer matters more than people realize. Not all poultry sprays are created equal, and using the wrong product — or using the right one wrong — means the mites come back faster than you’d expect. Here’s what actually works, what to look for in a chicken mite spray, and how to use it so the problem actually gets solved.

Do You Actually Need a Mite Spray?
Yes — if you’ve confirmed mites are present. The mistake most people make is treating on suspicion rather than confirmation, or not treating thoroughly enough once they know mites are there.
The signs of mites in a chicken flock are pretty recognizable once you know what to look for: excessive preening, feather loss especially around the vent and neck, pale combs from blood loss, hens that seem restless at night, and — the most reliable sign — actually seeing them. Mites are tiny but visible. Check the skin around the vent in direct light. If you see small moving dots or dark clusters of eggs at the base of feathers, you have mites.
Northern fowl mites live on the bird year-round. Red roost mites live in the coop during the day and feed on birds at night — which means a bird can look clean during a daytime check even when the infestation is severe. If your hens are restless at night but look fine in the afternoon, check the coop — under roost bars, in cracks and crevices — not just the birds.
For a complete walkthrough of identifying and treating a mite infestation from start to finish, the full mite treatment guide covers the whole process in detail. This article focuses specifically on the spray side of things.

What to Look for in a Chicken Mite Spray
The poultry spray market has a lot of options, and not all of them are worth your time. Here’s what matters when you’re choosing:
Safe for the bird and the eggs. This is non-negotiable. Any spray you apply directly to a laying hen needs to be food-safe or have a clearly stated egg withdrawal period. Many natural sprays made with essential oils and plant-based ingredients have no withdrawal period, which makes them the practical choice for backyard keepers who are eating or selling eggs.
Effective on contact and with some residual action. A spray that kills mites on contact is useful, but mites have a lifecycle. Eggs hatch, nymphs develop, and if your spray has no residual effect you’ll need to retreat in 5–7 days to catch the next generation. Look for products that note residual activity, or plan your retreatment schedule accordingly.
Usable on the coop as well as the bird. Treating only the bird and not the environment is one of the main reasons mite treatments fail. If you can use the same spray on roost bars, nest boxes, and coop walls, you simplify the whole process significantly.
No harsh chemical residue. Pyrethrin-based sprays are effective but can leave residue in bedding and on surfaces. Natural alternatives have improved a lot in recent years and are genuinely effective for most backyard flock situations — not just a feel-good compromise.


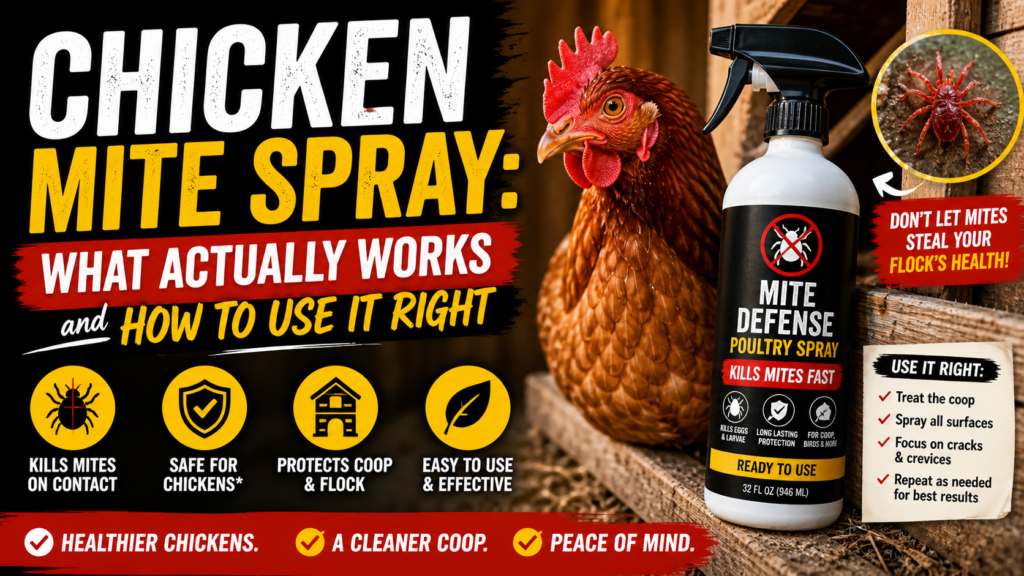
The Spray I Use and Actually Recommend
After trying several options over the years, the one I keep coming back to is the Premo Guard Poultry Spray. It’s a natural formula — no harsh chemicals — and it’s safe to use directly on the birds including around the vent and under the wings where mites concentrate. No egg withdrawal period, which matters when you’ve got laying hens.
What I like about it practically: you can spray the birds and the coop in the same session. Roost bars, nest box corners, cracks in the walls — it handles all of it. That matters because red roost mites specifically hide in the coop structure during the day, and if you don’t treat the environment you’re only solving half the problem.
It’s also the kind of product you can keep on hand and use proactively as part of routine coop maintenance rather than waiting until you have an active infestation. A light spray of roost bars every few weeks during warm months — when mite pressure is highest — goes a long way toward preventing the problem from getting established.
How to Use Chicken Mite Spray Correctly
The application matters as much as the product. Here’s the process that actually gets results:
Treat the birds first. Part the feathers around the vent, under the wings, and along the neck — the areas where mites concentrate. Apply spray directly to the skin in those areas. Don’t just mist the outer feathers and call it done; you need to get the spray to where the mites actually live.
Treat every bird in the flock. Mites spread fast through a flock. Even birds that look unaffected should be treated at the same time as the ones that clearly have mites. Treating half the flock means the untreated half reinfects the treated birds within days.
Clean the coop before treating it. Remove all bedding, scrape down roost bars, and clean out nest boxes before spraying the coop. Spraying over dirty bedding means the product has to penetrate layers of debris to reach the mites hiding in cracks. Start clean, then spray thoroughly — roost bars, walls, nest box corners, and any crevices where mites can shelter.
Retreat in 7–10 days. Mite eggs aren’t killed by most sprays. A second treatment timed to when those eggs hatch breaks the lifecycle and prevents a full reinfestation. Skip the second treatment and you’ll likely be dealing with the problem again within two to three weeks.
Add diatomaceous earth to the coop bedding. After the spray treatment, food-grade diatomaceous earth worked into the bedding and into the corners of the coop provides ongoing mechanical control of mites between spray treatments. It doesn’t replace the spray for an active infestation, but it makes a meaningful difference as a maintenance tool. The article on using natural powder to control mites goes deeper on how to use it effectively.


Why Mite Treatments Fail
If you’ve treated before and the mites came back, one of these is usually why:
Treated birds but not the coop. The most common reason. Red roost mites in particular live in the coop structure — treating only the birds leaves the source of reinfestation completely intact.
Skipped the second treatment. The first treatment kills active mites. The second treatment — 7–10 days later — kills the ones that hatched from eggs that survived the first round. Skipping it means the cycle restarts.
Missed the areas where mites concentrate. A surface spray that doesn’t penetrate to the skin, or a coop treatment that misses the cracks and crevices where mites shelter, leaves enough survivors to repopulate fast.
Didn’t address dust bathing access. Chickens naturally control external parasites through dust bathing. A flock without regular access to a good dust bathing area is more vulnerable to mite buildup. Make sure your birds have access to dry, loose soil or a dedicated dust bath — it’s one of the things covered in the 7 essentials every flock needs.
Mites can also stress a flock in ways that show up as other problems — reduced laying, pale combs, lethargy. If your hens seem off and you can’t identify a clear cause, mites are always worth checking. A stressed flock from mite pressure looks a lot like a flock with nutritional deficiencies or other issues. The signs of flock stress article covers what to look for across the board.
Prevention Is Easier Than Treatment
Once you’ve dealt with a mite infestation, you don’t want to do it again. The good news is that prevention is significantly less work than treatment.
Routine coop cleaning — removing old bedding, scraping roost bars, airing out nest boxes — eliminates the dark damp conditions mites prefer. A light preventive spray of roost bars every few weeks during peak mite season (late spring through early fall) keeps populations from establishing. Diatomaceous earth in the bedding and dust bathing area provides ongoing low-level protection between cleanings.
New birds are the most common way mites enter a clean flock. Quarantine any new additions for at least two weeks before introducing them, and inspect them carefully before and after quarantine. Even birds from reputable sources can carry mites. The guide to introducing new chickens covers the quarantine process and what to watch for.
Keep a bottle of poultry spray in the coop. The difference between a minor mite issue you catch early and a full infestation is almost always whether you had the tools on hand to act fast.
Catch It Early and It Stays Simple
Mites are one of those problems that goes from manageable to miserable based almost entirely on how quickly you catch it. A light infestation treated promptly — birds and coop, twice, a week apart — is a few hours of work. An established infestation that’s been running unchecked is a multi-week project.
Check your flock regularly, keep a good spray on hand, and don’t skip the coop treatment. That’s really the whole strategy. The mites will always be present in the environment to some degree — the goal is making sure they never get the foothold they need to cause real problems.
About the Author: Marcus J. Webb has kept backyard chickens for twelve years and has dealt with just about every flock health issue there is — including a mite infestation he wishes he’d caught two weeks earlier than he did.
As an Amazon Associate we earn from qualifying purchases through some links in our articles.