I put off buying an incubator longer than I should have. After losing a clutch to a hen who abandoned the nest three days before hatch, I picked up the MATICOOPX 20 egg incubator — here’s exactly what I found after using it.
I’ll be honest — I put off buying an incubator for longer than I should have. I had fertilized eggs, I had a rooster doing his job, and I had hens that occasionally went broody. I kept telling myself I didn’t need one. Then I lost a clutch of eggs to a hen who abandoned the nest three days before hatch, and I decided I was done leaving things to chance. If that rooster is also starting the day loudly, why roosters crow in the morning explains what drives the timing.
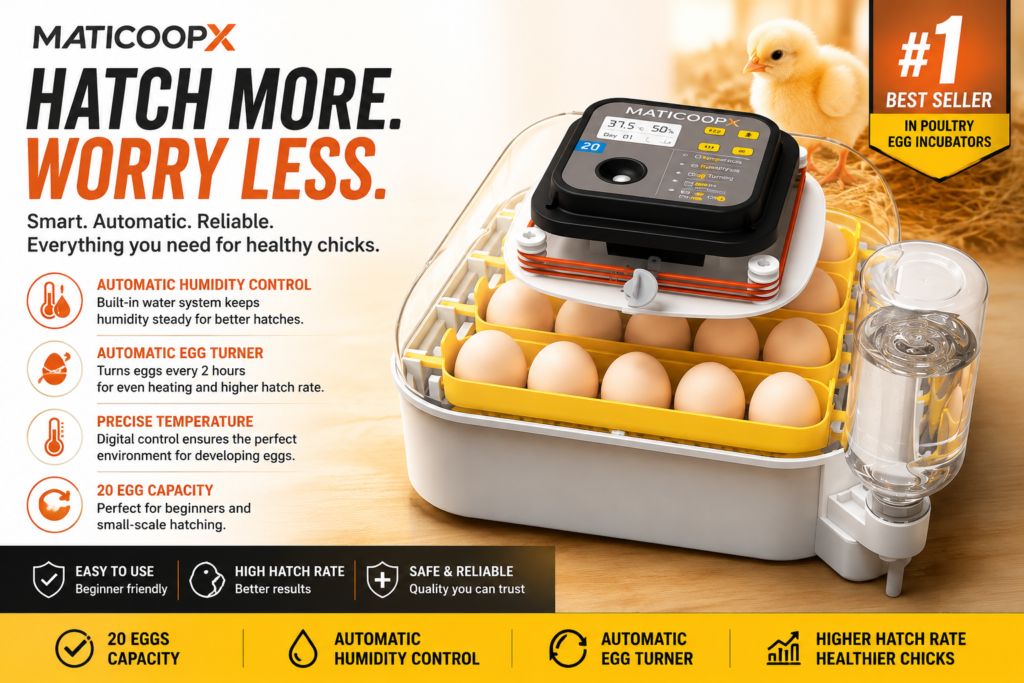
I picked up the MATICOOPX 20 Egg Incubator after spending more time than I’d like to admit reading reviews and comparing specs. Here’s what I found after actually using it — the good, the things to know going in, and whether it’s worth the money for a backyard flock keeper.
Why I Chose the MATICOOPX Over Other Incubators
At the 20-egg capacity range, there are a lot of incubators that look nearly identical. Same footprint, same general design, different brand name on the front. What pushed me toward the MATICOOPX specifically was the humidity display.
If you’ve hatched eggs before, you know that humidity management is where most home incubation failures happen. Temperature is important, but it’s relatively easy to maintain with a decent thermostat. Humidity is trickier — it drifts, it matters differently at different stages of incubation, and without a reliable readout you’re essentially guessing. The built-in humidity display on the MATICOOPX takes that guesswork out of the equation in a way that cheaper incubators without that feature simply can’t.

The automatic egg turner was the other deciding factor. Manual turning — rotating eggs by hand multiple times a day for 18 days — is manageable if you’re home all day, but it’s genuinely disruptive to a normal schedule. An automatic turner that handles rotations every few hours without any input from me was worth the price difference on its own.
The included egg candler was a bonus I didn’t expect to find as useful as I did. More on that below.
What’s in the Box
The MATICOOPX arrives well packaged with the incubator unit, the egg turner tray, a water adding tube for adjusting humidity without opening the lid, a small egg candler, and basic instructions. Setup is straightforward — took me about fifteen minutes from opening the box to having the unit running and stabilizing.
The design is the transparent dome style, which I prefer for home incubation. Being able to see the eggs without opening the lid maintains a more stable environment and — if I’m being honest — makes the whole process a lot more interesting to watch. There’s something satisfying about being able to glance over and see the turner working and the eggs rocking slowly through their rotation cycle.
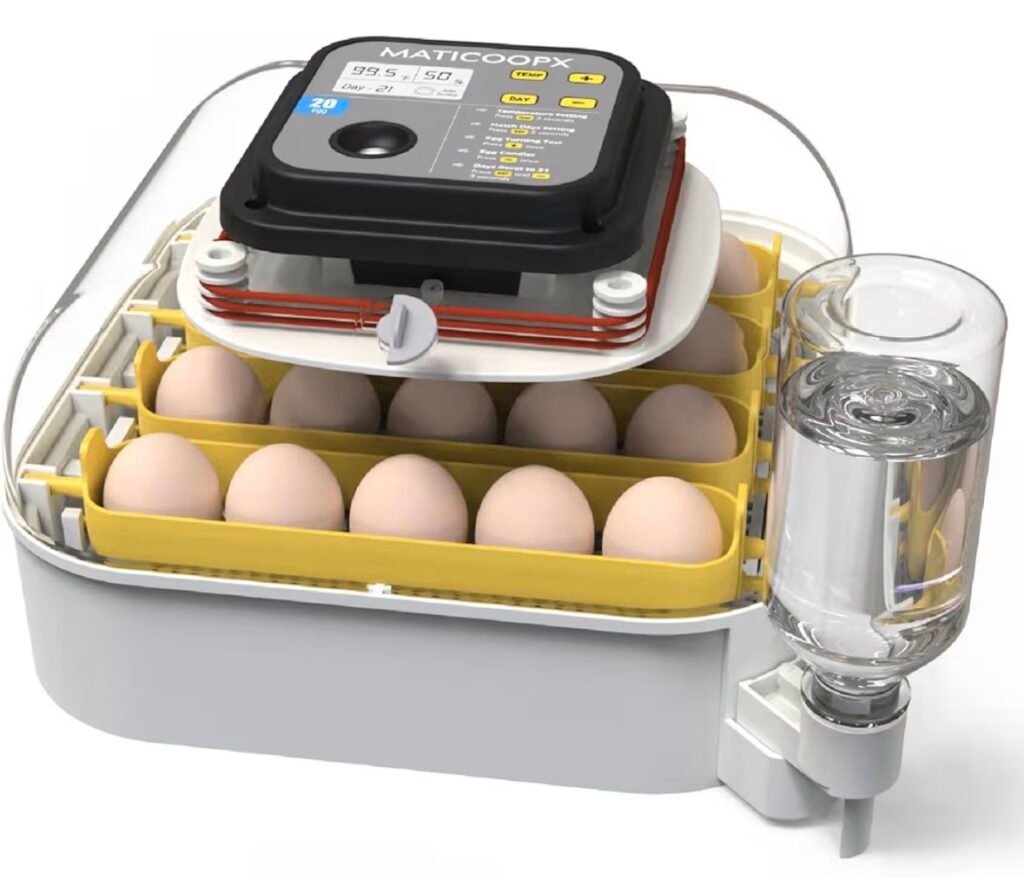
Build quality is solid for the price point. It doesn’t feel flimsy or cheap. The lid fits snugly, the digital display is clear and easy to read from across the room, and the controls are simple enough that you don’t need to reference the manual after the first use.

Setting It Up for the First Time
Before you put a single egg in, run the incubator empty for at least 24 hours. This is true of any incubator, not just this one — you want to verify that your temperature and humidity are stabilizing at the right levels before you commit fertile eggs to it.
Target temperature for chicken eggs is 99.5°F for forced air incubators. Target humidity is 45–55% for the first 18 days, then bumped up to 65–70% for the final three days — called “lockdown” — when the chicks are positioning themselves to hatch.
The MATICOOPX held temperature well within acceptable range in my testing. Humidity required a little more attention in the first run — I found I needed to add water every day or two in the first week depending on ambient humidity in my space. The water tube makes adding water easy without opening the lid, which helps maintain stability. Once I figured out the rhythm of my specific environment, it became second nature.
One thing worth knowing: place the incubator away from windows, heating vents, and exterior walls. Drafts and temperature fluctuations in the room affect incubator stability more than most people expect. A stable room temperature makes a noticeable difference in how consistently the incubator performs.
The Automatic Egg Turner — How Well Does It Actually Work?
The turner is where a lot of cheaper incubators cut corners, and it’s where the MATICOOPX earns its keep. The eggs sit in individual cradles on the turner tray and rotate slowly through their cycle automatically — no timer to set, no manual turning schedule to maintain.
Egg turning matters because the developing embryo needs rotation to prevent it from adhering to the shell membrane. In a broody hen, this happens naturally and constantly as she shifts on the nest. In an incubator, the turner replicates that movement mechanically. Skipping turns — or turning inconsistently — is one of the most common causes of failed hatches in home incubation.

The MATICOOPX turner ran quietly and consistently through my entire incubation period. I had it running 24 hours a day for 18 days and it didn’t miss a beat. The mechanism is simple enough that I don’t have concerns about reliability over time — there’s not much to go wrong with it.
The one step that requires your attention: turn the turner OFF at day 18 when you begin lockdown. The eggs need to be stationary for the final three days so chicks can position themselves correctly for hatching. It’s easy to forget if you’ve been letting the turner run automatically — set a reminder on your phone for day 18 so you don’t miss it.


The Humidity Display — The Feature That Actually Matters Most
I’ve used incubators without humidity displays and it’s a genuinely different experience. You’re adding water on a schedule and hoping for the best. With the MATICOOPX display showing me real-time humidity readings, I could actually manage the process instead of guessing at it.
During the first hatch I ran in this incubator, the humidity display caught a drop I wouldn’t have noticed otherwise — it happened after a dry cold front moved through and the ambient humidity in my house dropped significantly. I added water, watched the reading recover, and the eggs were never at risk. Without that display, I wouldn’t have known until I opened the unit and potentially disrupted the environment.
For the lockdown period — days 18–21 — humidity management becomes especially critical. Chicks that try to hatch in low humidity can get “shrink wrapped” inside the membrane, which makes hatching difficult or impossible. Having a reliable humidity reading during those final days is the difference between watching chicks hatch successfully and wondering what went wrong.
This is the feature that justifies the MATICOOPX over cheaper incubators without it. Full stop.
The Egg Candler — More Useful Than I Expected
Candling is the process of shining a bright light through an egg to see the developing embryo inside. You do it at around day 7 and again at day 14 to identify eggs that aren’t developing — either infertile or early failures — so you can remove them before they affect the rest of the batch.
The included candler in the MATICOOPX kit is small — a simple LED light — and it works well for candling in a darkened room. By day 7, a developing egg shows a visible network of blood vessels radiating from a dark center. An infertile egg looks clear. A failed egg may show a blood ring or no visible development.
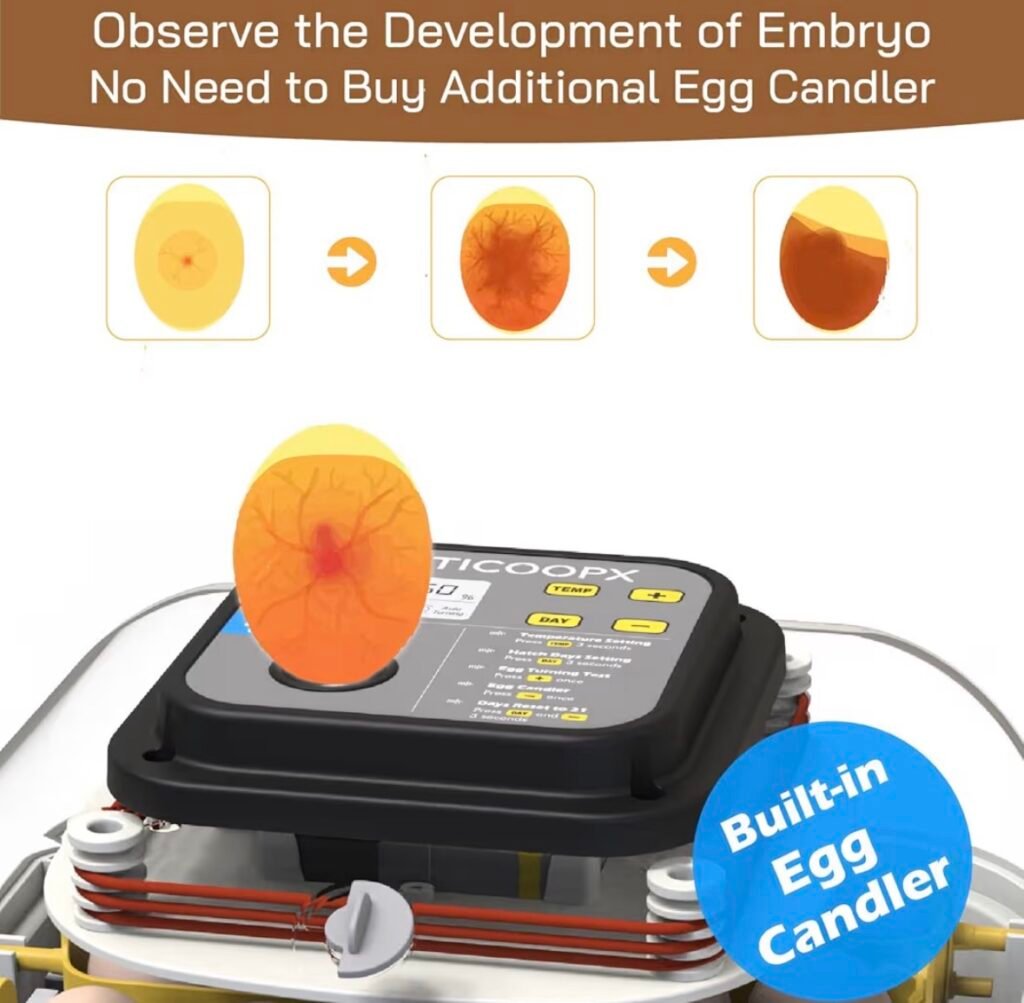
My first candling session with this incubator: 18 eggs set, 15 showing clear development at day 7, 2 infertile, 1 early quit. Removing the non-developers promptly keeps the incubator cleaner and reduces the risk of a bad egg exploding — which is exactly as unpleasant as it sounds and can contaminate healthy eggs.
If you’ve never candled eggs before, there are good video resources that show exactly what to look for. The first time you see a living embryo moving inside an egg you’re holding is a genuinely remarkable experience — one of those moments that reminds you why backyard chicken keeping is worth all the effort.
Hatch Results — What I Actually Got
First hatch: 15 developing eggs going into lockdown, 12 chicks hatched successfully. That’s an 80% hatch rate on developing eggs, which is solid for a first run in a new incubator with a new setup. Experienced hatchers typically see 75–85% on developing eggs as a normal range — anything above that is excellent, anything below 70% warrants a look at temperature and humidity management.
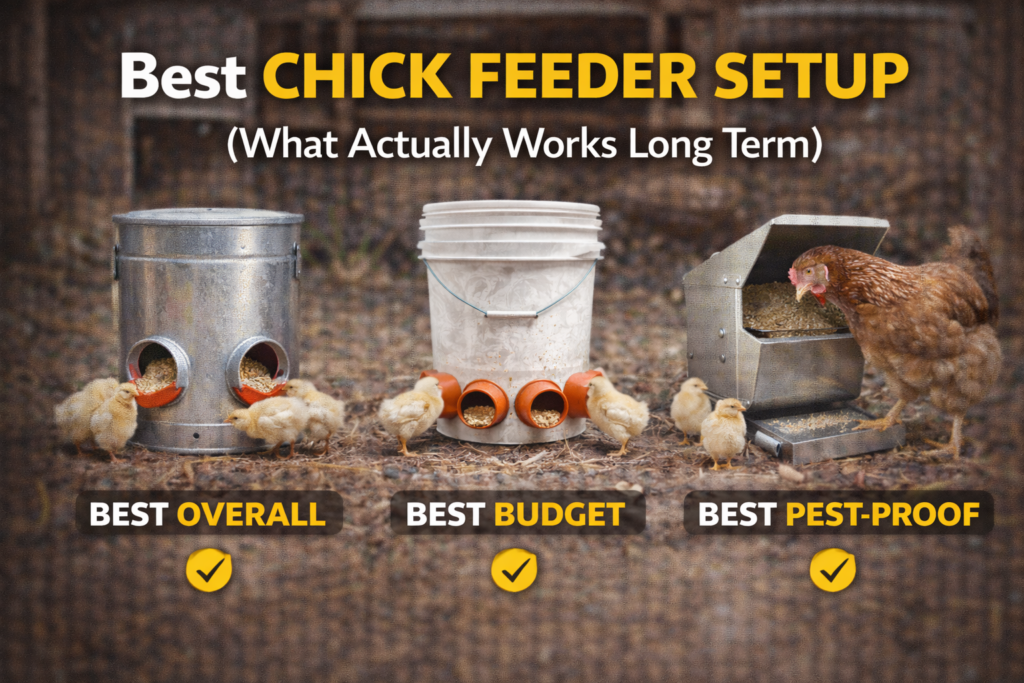
The chicks that hatched were vigorous and healthy — up and moving within a few hours, ready for the brooder by the time they’d dried off. I lost two to what appeared to be positioning issues — they pipped but couldn’t complete the hatch — and one that pipped externally but didn’t progress. These are frustrating losses but within normal range for home incubation, especially on a first run. Once newly hatched chicks reach the brooder, a reliable chick feeder setup helps keep feeding orderly and reduces avoidable waste.
Second hatch improved to 13 out of 15 developing eggs — 87%. By that point I had a better feel for my specific environment’s humidity patterns and the timing of water additions. Like most things in chicken keeping, the learning curve is real but short.
Capacity — Is 20 Eggs the Right Size?
The 20-egg capacity is the sweet spot for most backyard flock keepers. It’s large enough to make a meaningful addition to your flock in a single hatch — 12 to 16 chicks from a good run gives you enough to keep your selection after culling cockerels. It’s small enough to be practical on a kitchen counter or utility room shelf without taking over the space.

If you’re planning to hatch commercially or in very large numbers, you’d want a much larger cabinet-style incubator. But for the backyard keeper who wants to hatch once or twice a year to add to the flock, replace old hens, or try different breeds, the 20-egg capacity is exactly right. If you're choosing breeds for that first hatch, beginner chicken breeds can help you narrow down beginner-friendly options.
One practical note: the egg cradles in the turner tray are sized for standard chicken eggs. Very large eggs — some duck eggs, very large heritage breed chicken eggs — may not fit the cradles properly and would need to be turned manually. Standard large chicken eggs fit without issue.

What I’d Tell Someone Buying This for the First Time
A few things I wish I’d known going in that would have made the first hatch smoother:
Run it empty for 24–48 hours before setting eggs. Verify your temperature and humidity are stable before you commit fertile eggs. Don’t skip this step to save time — you’ll lose more time if you have problems mid-hatch.
Keep a hatch log. Write down your daily temperature and humidity readings, when you added water and how much, and anything unusual. When a hatch goes well or poorly, you want to be able to reconstruct what happened. A simple notebook works fine.
Don’t open the lid during lockdown. Days 18–21, the lid stays closed. Every time you open it, humidity drops and temperature spikes. It’s tempting when you see chicks starting to pip — resist it. The humidity drop when a chick is mid-hatch is one of the most common causes of hatch failures at the finish line.
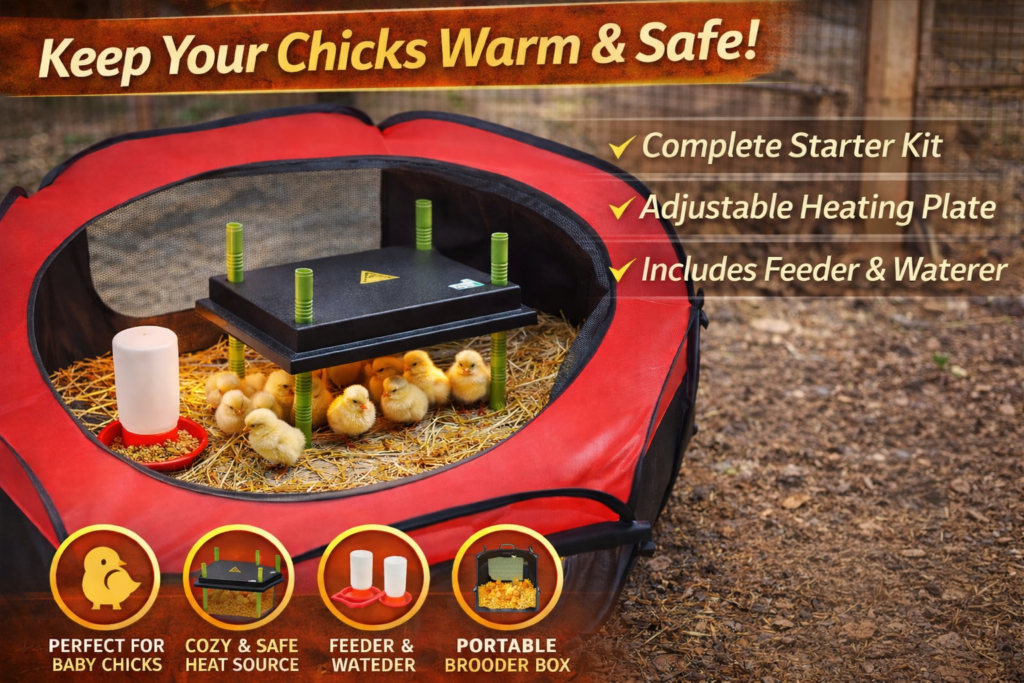
Have the brooder ready before the hatch. Chicks need to go from incubator to brooder without delay. Have it set up, warmed up, and with feed and water ready before day 21. The brooder kit guide covers what you need for a solid brooder setup if you’re putting one together for the first time.
Source your fertile eggs carefully. The incubator can only work with what you give it. Eggs from a flock with a healthy, active rooster and good hen-to-rooster ratio will have higher fertility rates than eggs from a marginal situation. If you’re buying hatching eggs from outside your flock, buy from a reputable source and ship losses are normal — shipped eggs have lower hatch rates than locally collected ones due to handling and temperature fluctuations in transit.
Is the MATICOOPX 20 Egg Incubator Worth It?

For a backyard keeper who wants to hatch their own chicks without the complexity and expense of a large commercial unit — yes, genuinely. The humidity display alone justifies it over cheaper incubators that make you guess at one of the most critical variables in the process. The automatic turner removes the logistical burden that makes manual incubation impractical for anyone with a normal schedule. And the egg candler, while simple, is a functional tool that covers what you need it to do. An incubator is one optional purchase to weigh when estimating the budget behind a backyard flock for your own flock.
It’s not a professional hatchery unit. The temperature accuracy is good but not laboratory-grade. The humidity display works well but should be cross-checked with a separate hygrometer if you want maximum confidence in your readings. For the price point and the use case — occasional hatching in a backyard flock setting — it performs exactly as well as it needs to. As with all practical guidance on this site, review the Terms & Conditions and use your own judgment when applying these recommendations.
I’ve run three hatches in mine now and it’s become a regular part of how I manage flock turnover. It sits on a shelf in my utility room from February through May, gets cleaned and stored through summer, and comes back out in fall for a late hatch. It’s earned its place.
If you’re ready to try hatching your own chicks, the MATICOOPX 20 Egg Incubator is a solid place to start — and a lot more forgiving than leaving it to a broody hen who might change her mind three days before hatch.
After the Hatch — What Comes Next
Successfully hatching chicks is one of the most rewarding things you can do in backyard chicken keeping. It’s also just the beginning — newly hatched chicks need a warm, safe brooder environment for their first several weeks before they’re ready to integrate with the flock.
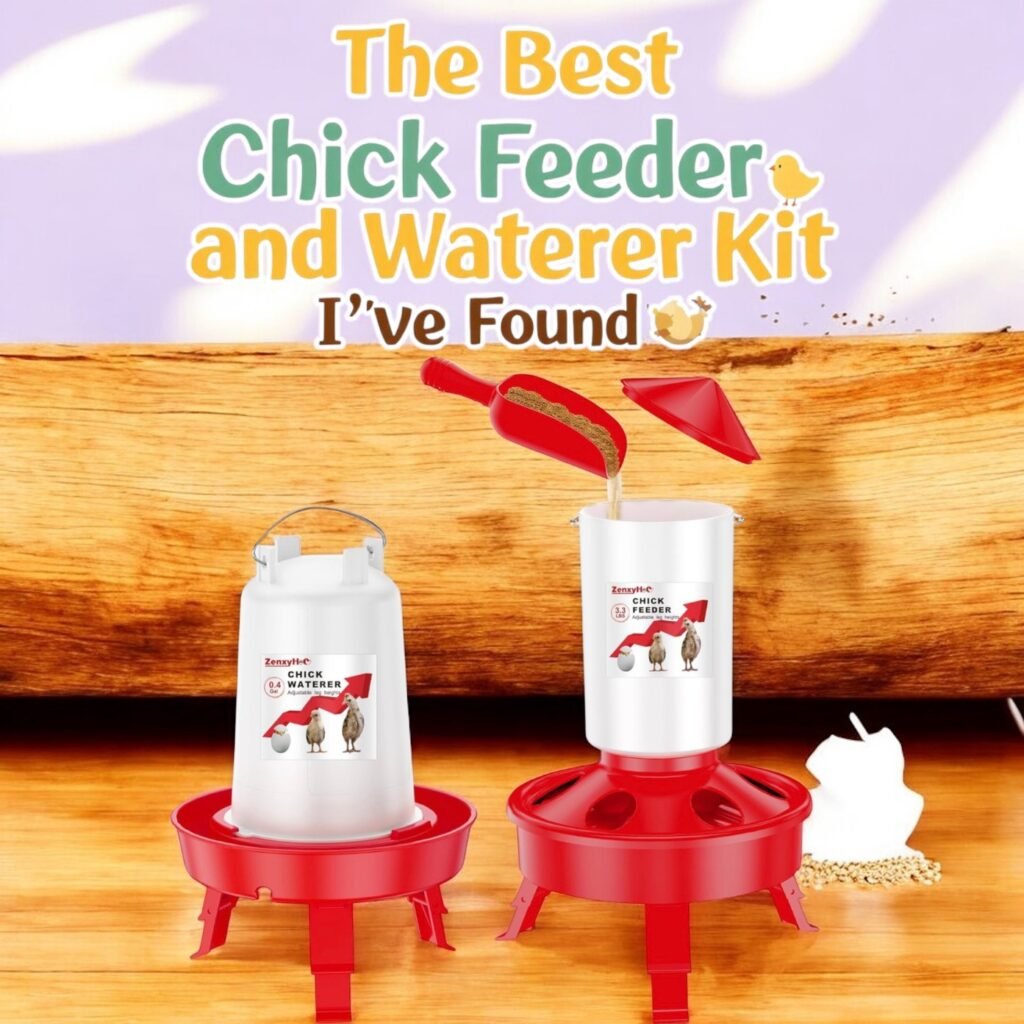
Getting the brooder right matters as much as getting the incubation right. Temperature, draft protection, clean water and chick-appropriate feed, and enough space as they grow fast — these are the basics that determine whether your successfully hatched chicks make it to laying age. The best chick feeder and waterer setup covers the equipment side of the brooder, and the essentials every chicken needs to thrive is a useful reference as those chicks grow into pullets.
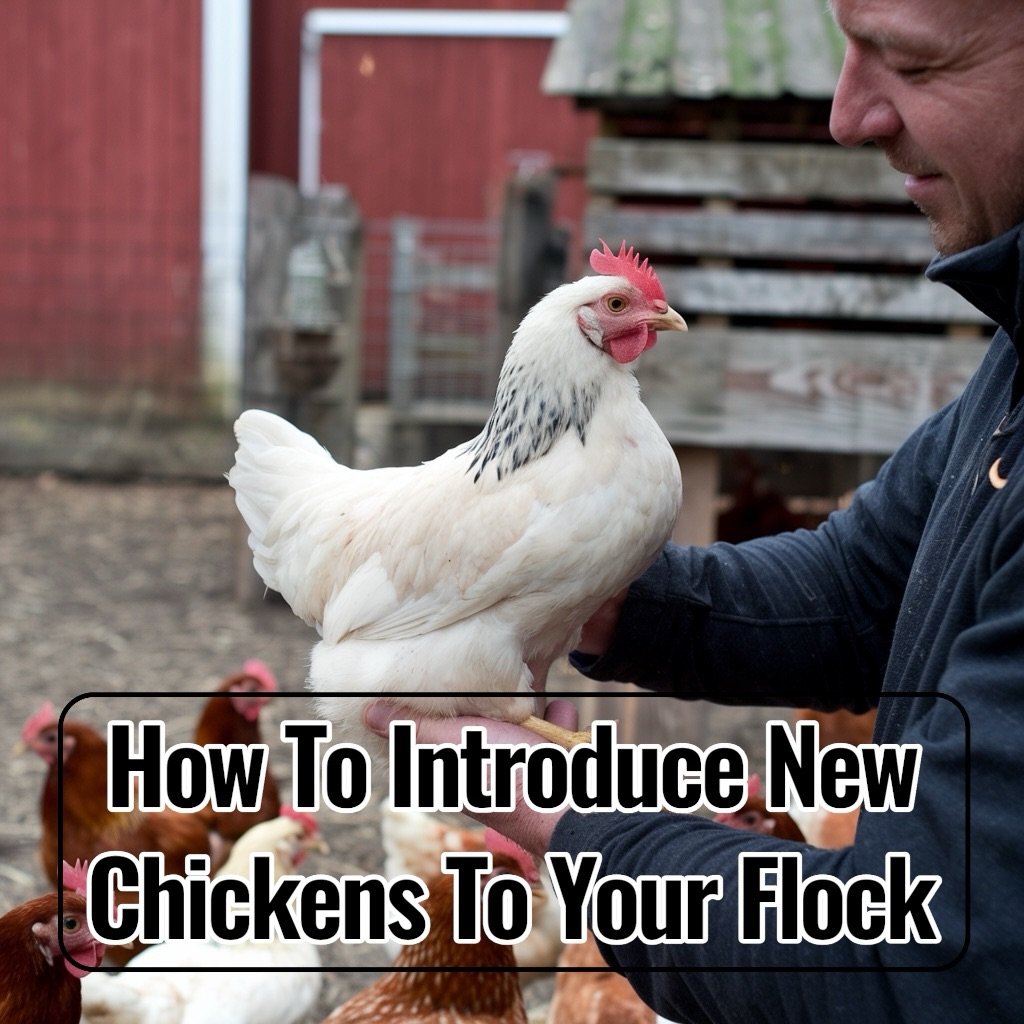
When the time comes to integrate your home-hatched pullets into the main flock, take it slowly. Birds raised in a brooder are unknown quantities to the established flock, and the introduction process matters for their safety and for flock stability. The guide to introducing new chickens walks through the process that minimizes conflict and gets new birds settled without a battle.

Hatching your own chicks changes the relationship you have with your flock in a way that’s hard to describe until you’ve done it. There’s something different about a hen you watched hatch, raised through the brooder, and integrated into the flock yourself. It’s worth the learning curve, worth the few failed hatches that teach you what to do differently, and worth every dollar of the incubator that makes it possible. That deeper bond makes the science of chicken relationships and recognition especially interesting for backyard keepers.
About the Author: Ryan Callahan has kept backyard chickens for eight years and added home incubation to his operation three seasons ago. He’s hatched everything from standard layer breeds to Silkies and hasn’t gone back to buying chicks from a feed store since.